Introduction
Welcome to the vibrant world of Glossy Boys, where nail care meets creativity and inclusivity. Founded by Lucas, a young visionary who appeared on Shark Tank and TEDx, Glossy Boys is more than just a brand—it’s a movement promoting self-expression through salon-quality DIY nail products. The mission is simple: empower individuals to achieve professional-looking nails at home with ease and style.
Achieving salon-quality nails at home is not just a trend; it’s an essential part of personal grooming that enhances confidence and self-expression. With the right tools and techniques, you can save time and money while enjoying the convenience of crafting your unique look whenever you desire. The Glossy Boys Starter Kit offers everything you need to create stunning nails, whether you’re a beginner or a seasoned nail enthusiast.
In this article, you’ll discover how to:
- Assemble your Glossy Boys Nail Kit for optimal results
- Prepare your nails for flawless application
- Master the gel nail polish process for vibrant colors
- Elevate your look with creative nail art stickers
- Maintain that perfect finish with proper storage and safety practices

Step 1: Gather Your Glossy Boys Nail Kit
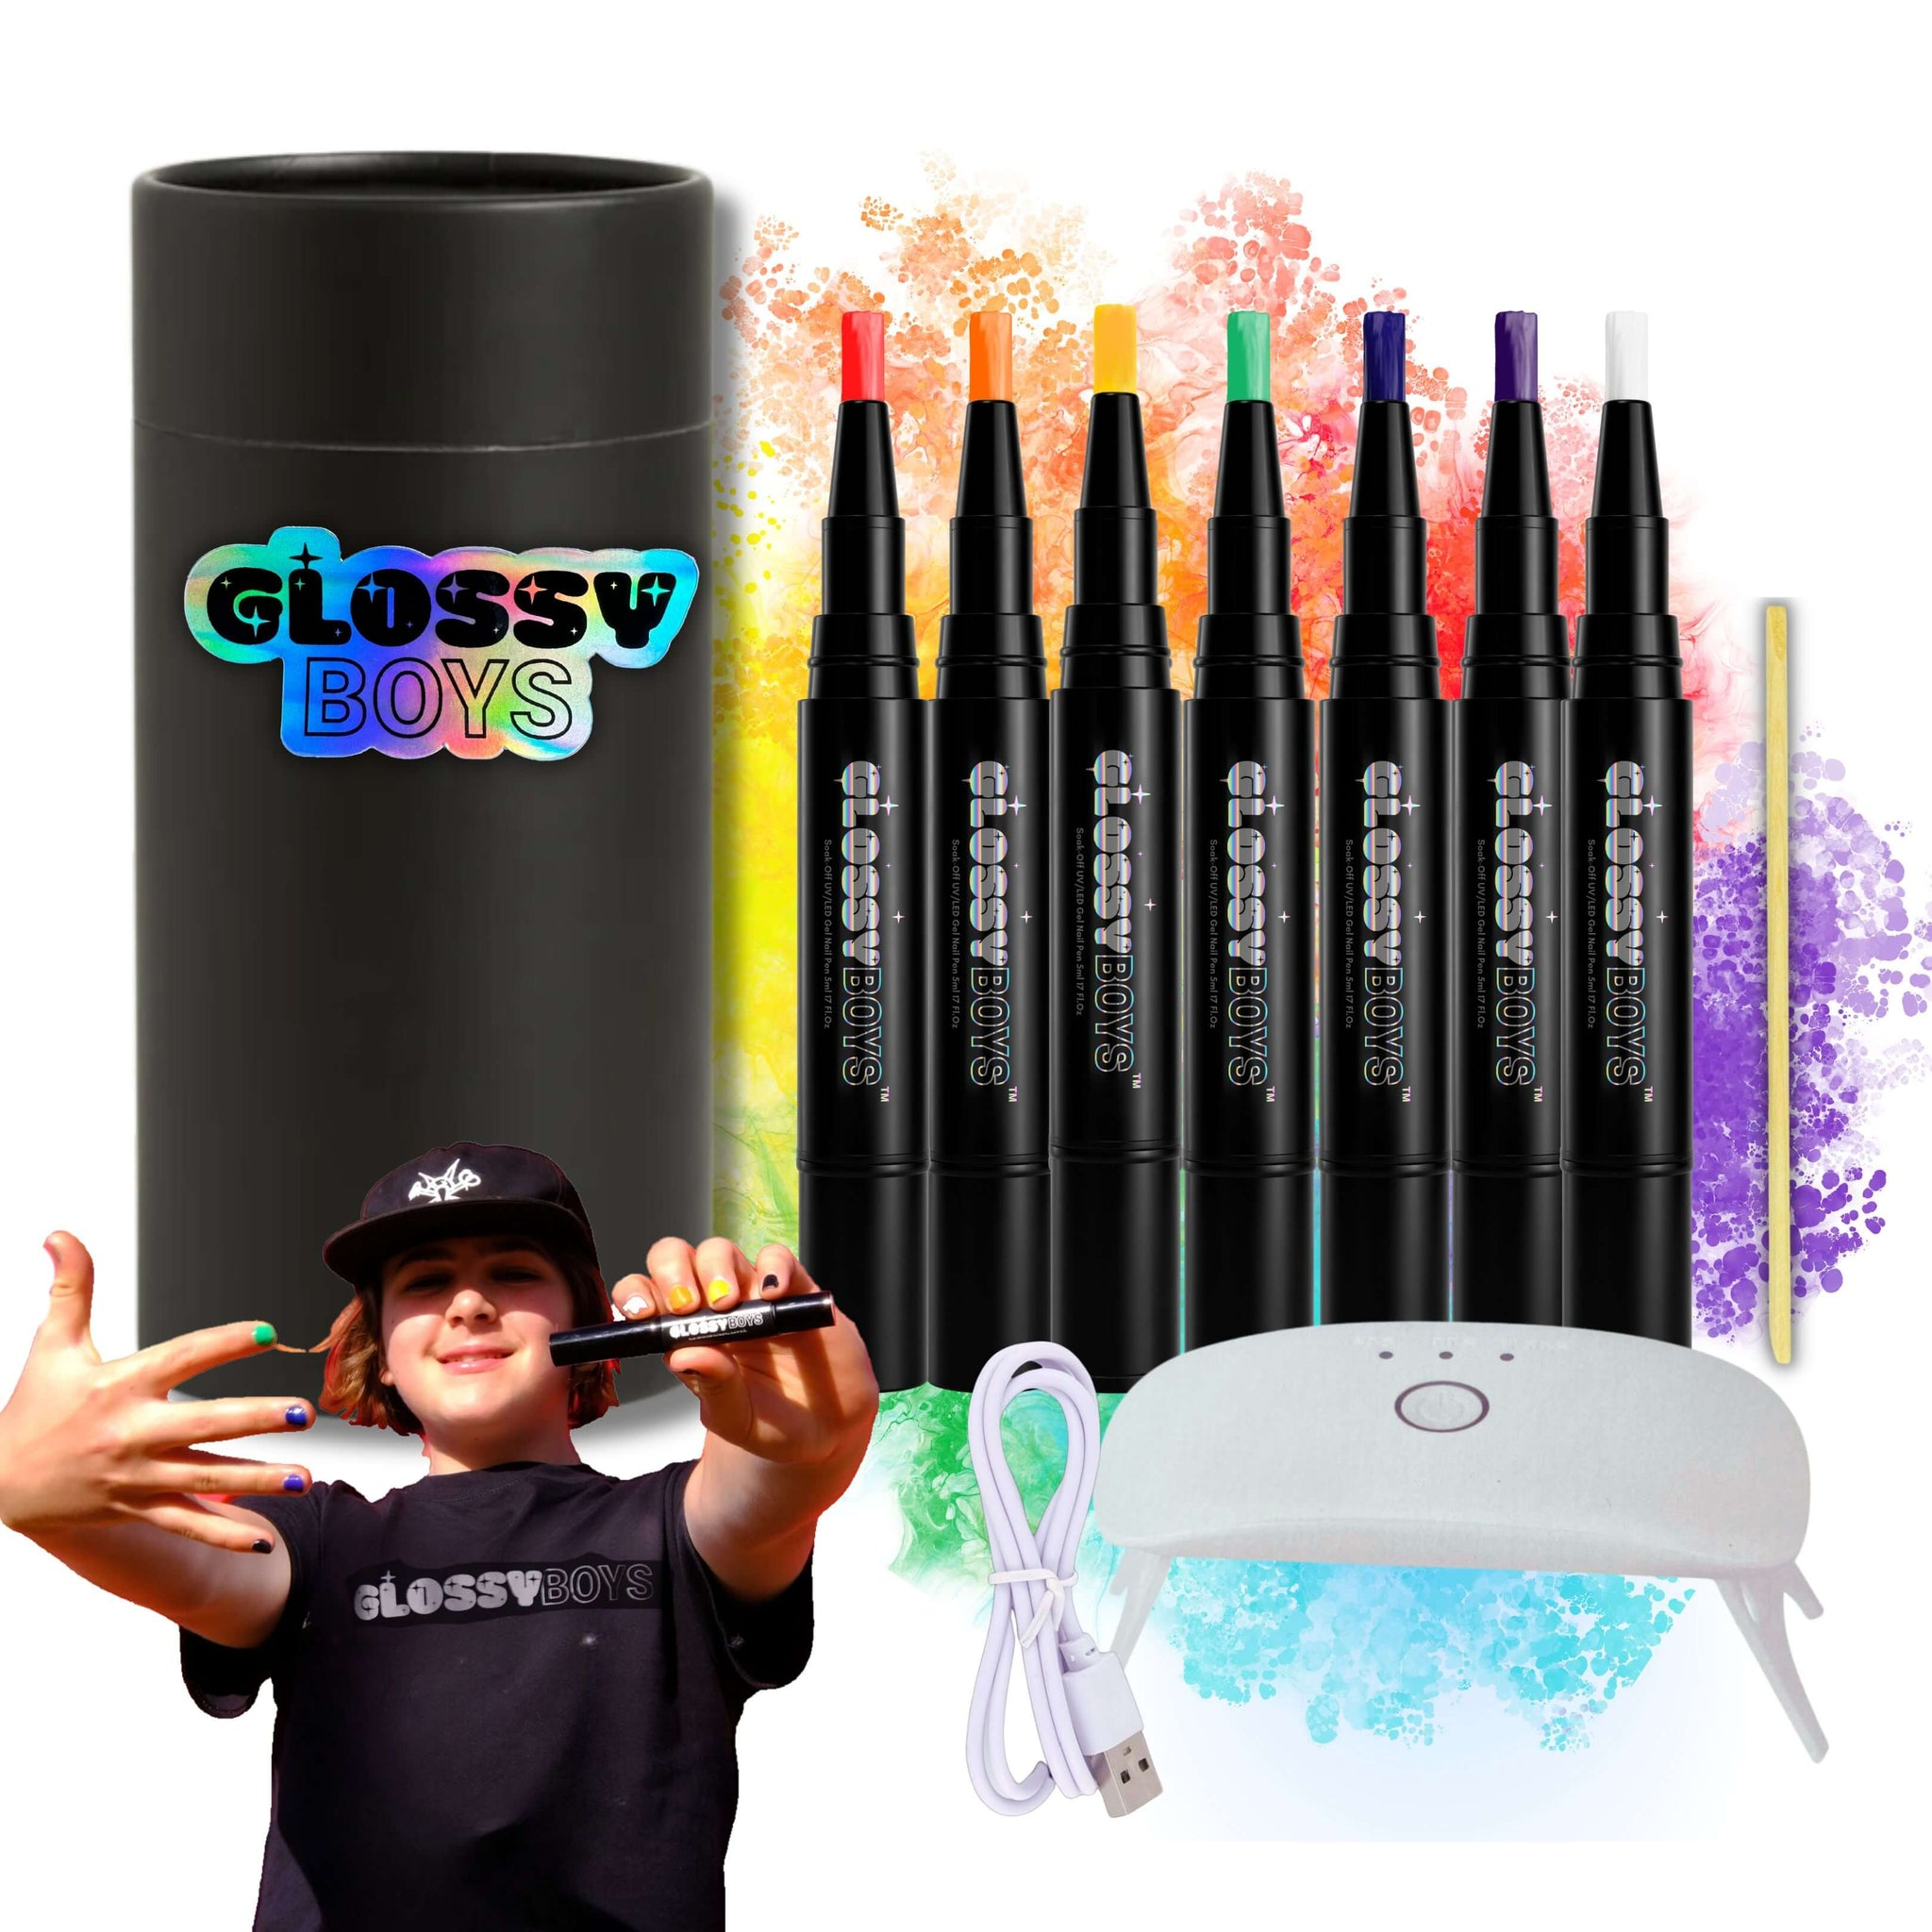
The first step to achieving salon-quality nails at home is to gather your Glossy Boys Starter Kit. This comprehensive kit provides all the essentials needed for a flawless manicure experience. Inside, you’ll find:
- Gel Polish Pens: These chunky pens are designed for easy application, offering vibrant colors that are a breeze to apply.
- UV Lamp: Specifically crafted to cure gel polish, ensuring a long-lasting, glossy finish.
Having the right tools at your disposal is crucial. The thoughtfully designed gel nail polish pens make painting your nails straightforward, even for beginners or those who find traditional nail varnish challenging. As Christian Hull noted, the pen-style applicator simplifies the process, making it accessible and enjoyable.
In addition to the core items in the Starter Kit, it’s beneficial to have extra nail care tools on hand. Consider including:
- Cuticle Pushers: For tidying up your cuticles before application.
- Nail Files and Buffers: To shape and smooth your nails for an ideal surface.
- Removers: Essential for safely removing gel polish when you’re ready for a new look.
Equipped with these tools, you’re well on your way to crafting professional-level nails right from your home.
Step 2: Prepare Your Nails for Application
Achieving the perfect gel nail polish starts with a foundation of clean and healthy nails. Proper nail care ensures that the gel polish adheres well and lasts longer without chipping.
Importance of Clean and Healthy Nails
- Clean Surface: Begin by washing your hands thoroughly to remove any oils or dirt.
- Healthy Nails: Regularly moisturizing your nails and cuticles can prevent brittleness, providing a smooth canvas for application.
Nail Care Safety Guidelines
Ensuring safety during the nail polish application process is crucial:
- Ventilation: Utilize a well-ventilated area to minimize inhalation of chemicals during application.
- Avoid Skin Contact: Carefully apply polish to the nail surface only, avoiding contact with the skin to prevent irritation.
Tips for Prepping Nails
Proper preparation of your nails can make all the difference in achieving salon-quality results:
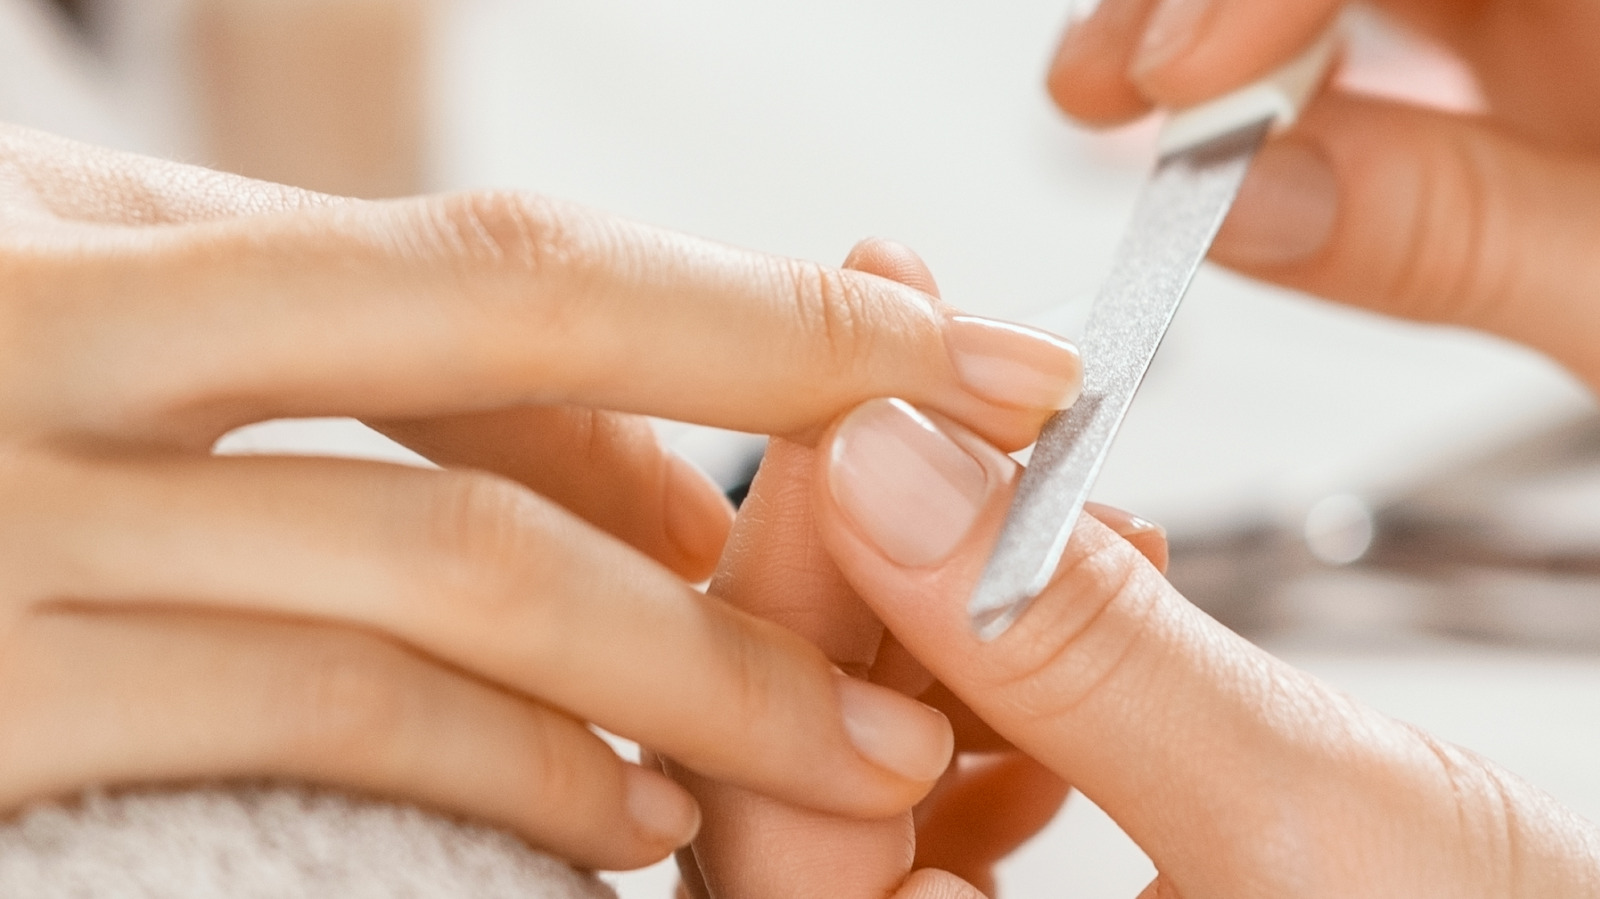
- Filing: Shape your nails using a gentle file. A smooth, even edge aids in uniform application.
- Cuticle Care: Push back cuticles with a wooden stick or cuticle pusher. This not only improves appearance but also helps polish adhere better.
By understanding these essential steps, you set the stage for a flawless gel nail polish experience with your Glossy Boys kit.
Step 3: Master the pen Glossy boys Nail Polish Application Process
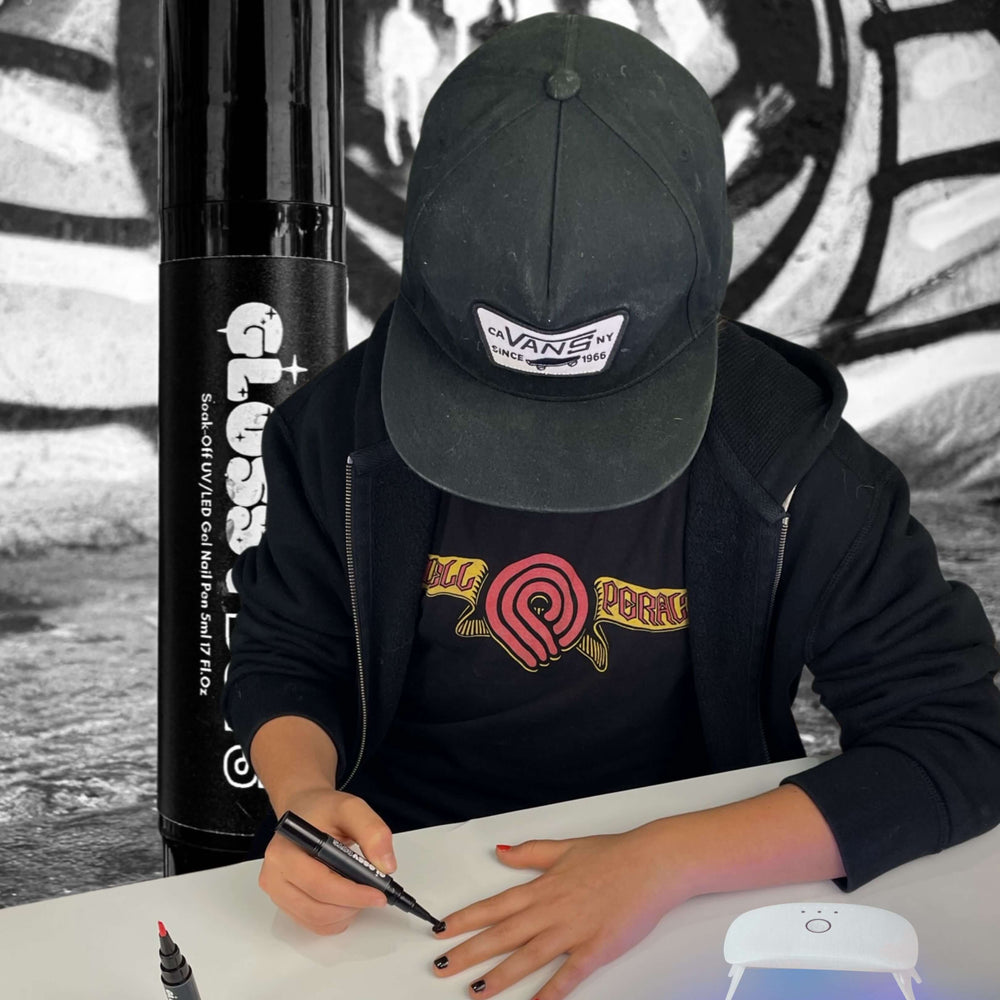
Achieving salon-quality nails at home starts with mastering the gel nail polish application. Here’s a straightforward guide on how to use gel nail polish with Glossy Boys’ innovative pens:
1. Prepare the Pen for Glossy Boys
Begin by twisting the bottom of the Glossy Boys gel polish pen 12-20 times clockwise. This action releases the perfect amount of polish, ready for application.
2. Apply the First Coat
Gently stroke a thin layer from the base to the tip of your nail. Be cautious to avoid skin contact for a clean, professional finish.
Note: Users like Hedge and Jak Jay have praised the pen-style applicator for its ease compared to traditional varnishes.
3. Curing Under UV Light
Place your nails under the included UV lamp for 4-6 minutes. This crucial step ensures that the gel polish hardens properly, providing durability and shine.
4. Second Coat Application
Repeat steps 1 through 3 for a second coat. This enhances color depth and evenness, resulting in vibrant nails.
A few tips to ensure an even finish include avoiding excess polish on the brush and maintaining steady pressure during application. This process has received positive reviews from users like Christian Hull, who found it beginner-friendly and praised its effectiveness in achieving professional results at home.
By following these steps, you align yourself with countless satisfied customers who have discovered how accessible salon-quality nails can be with Glossy Boys products.
4. Enhance Your Look with Nail Art Stickers from Glossy Boys
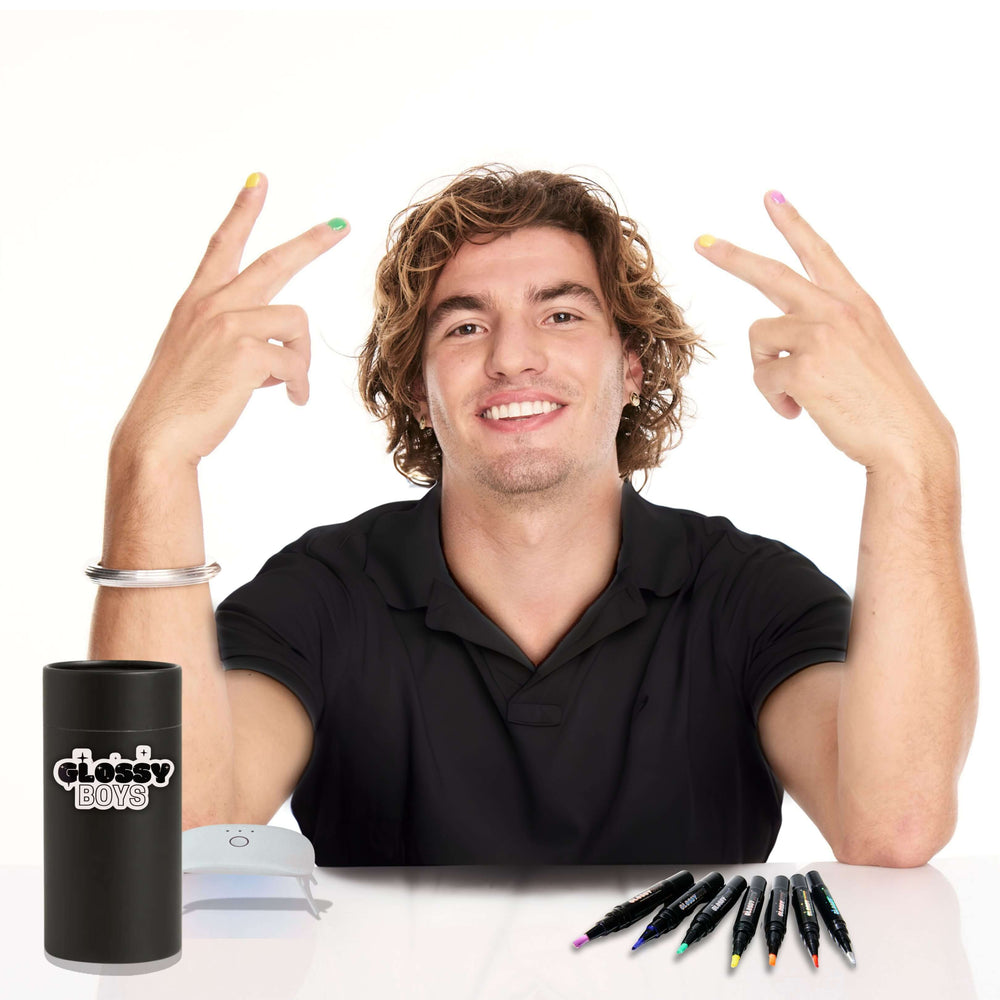
Unleash your creativity in nail art by incorporating Nail Art Stickers from Glossy Boys into your manicure routine. These stickers provide an effortless way to personalize your nails, turning a simple gel polish application into a canvas of self-expression.

Unique Designs to Inspire You: Glossy Boys Edition
Glossy Boys offers a range of imaginative designs to suit every personality and style. Some standout options include:
- UFO Unicorn Flying Pizza: A whimsical blend of fantasy and fun.
- Galactic Cats: Perfect for those who love a touch of cosmic quirkiness.
- Retro Geometric Patterns: Ideal for a chic and stylish finish.
These designs are crafted to complement the vibrant colors of the Glossy Boys gel polishes, ensuring a cohesive and eye-catching look.
Tips for Applying Nail Art Stickers
After your Glossy Boys At Home Gel Nail Polish has dried under the UV lamp, follow these tips to apply nail art stickers effectively:
- Ensure Nails are Completely Dry: This prevents any smudging or movement once the sticker is applied.
- Use Tweezers for Precision: Carefully peel your chosen sticker using tweezers for precise placement on the nail.
- Seal with a Top Coat: Apply a thin layer of clear top coat over the sticker to secure it and add extra shine.
These simple steps will help you achieve salon-quality results while expressing your unique style with ease.
Step 5: Maintain Your Salon Quality Finish with Proper Gel Nail Polish Storage and Safety Precautions After Application
Ensuring Longevity of Your Glossy Boys Gel Nail Polish
To keep your Glossy Boys nail polish vibrant and long-lasting, it’s essential to follow best practices for storage. Proper storage can extend the shelf life of your gel nail polish up to 24 months. Here are some tips:
- Store in a Cool, Dark Place: Exposure to direct sunlight or heat can cause the gel polish to thicken or change color. A drawer or cupboard away from windows works well.
- Keep Bottles Tightly Sealed: Ensure that the caps of your gel polish pens are securely closed to prevent air exposure which can dry out the product.
- Organize Upright: Storing bottles upright prevents leakage and maintains the consistency of the polish.
Safety Precautions Post-Application
After achieving that salon-quality finish, consider these safety tips to protect both your nails and others around you:
- Avoid Heat Sources: Keep your freshly polished nails away from heat sources such as ovens or hair dryers immediately after application to prevent smudging.
- Keep Out of Reach of Children: The glossyboys nail polish includes small parts and chemicals that should be kept away from children to avoid accidental ingestion or contact.
By adhering to these storage and safety guidelines, you ensure not only the longevity of your products but also maintain the pristine quality of your gorgeous nails.
Conclusion
Creating salon-quality nails at home is not only achievable but also fun and rewarding with Glossy Boys products. Their vegan-friendly and HEMA-free gel polishes ensure a safe and ethical beauty routine, making them a perfect choice for conscientious consumers. Each product is designed to support self-expression while maintaining nail health.
Joining the Glossy Brigade community opens up a world of exclusive offers, VIP discounts, and firsthand access to new products. This community celebrates creativity and inclusivity, giving you the opportunity to connect with fellow nail art enthusiasts for tips and inspiration.
If you’re considering your first purchase or looking to expand your collection, numerous reviews highlight the ease of use and vibrant results of Glossy Boys’ products. Whether you’re a beginner or a seasoned pro, the accessible design of their tools simplifies achieving that flawless finish.
Moreover, if you’re interested in exploring more about how Roxy Nails Paris is transforming the art of manicure or the revolutionary changes Candy Coat has brought to nail care, these resources provide valuable insights into the evolving landscape of nail care and artistry.
Dive into a world where beauty meets self-care with Glossy Boys, and let your nails reflect your unique style.
Learn more here purisia.com
