I used to think “performance hair” was just a fancy way of saying, tie it up with a Rip Tie and deal with it.
Then I started actually paying attention. Not to trends, but to what happens mid workout, mid run, mid hike, or during a long day where you are sweating, moving, turning your head a hundred times, pulling a hoodie on and off, stuffing your hair into a helmet, shaking it out, and doing it all again.
That is where most hairstyles fail. They look cute for ten minutes, then turn into a knotty, headachey mess that somehow gets worse the more you try to fix it.
So this is a practical guide. Not precious. Not “perfect hair tutorial” energy. This is about waves, braids, buns, ponytails, and trail-ready setups that actually hold. And the little thing that makes it all way easier is Rip Tie.
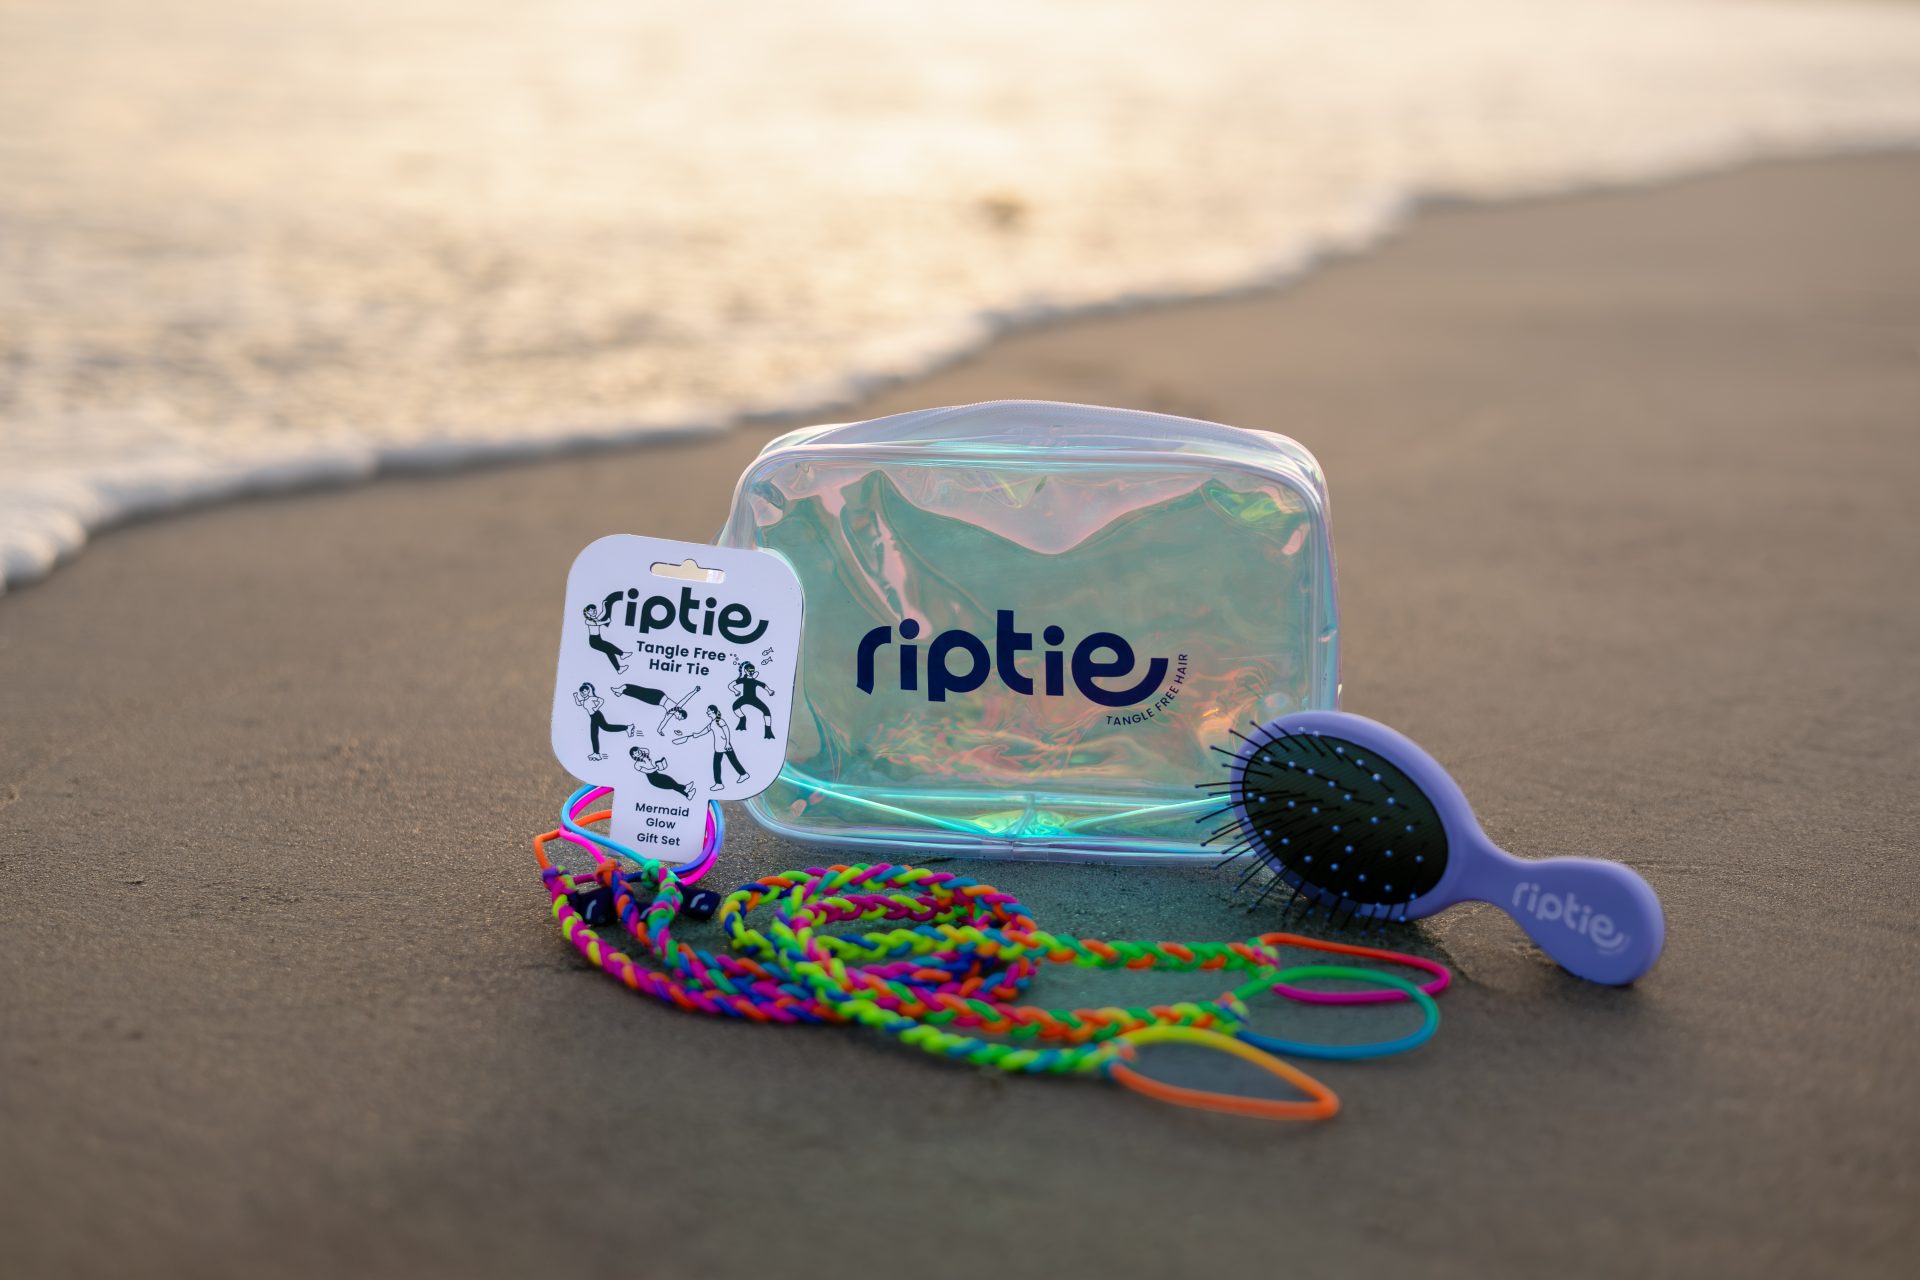
If you have not used one yet, it is basically a reusable hook and loop tie. Think quick, adjustable, strong, and no snaggy metal parts. You can tighten, loosen, retie without throwing away a rubber band every day. Also it does not have that cruel elastic snap vibe which matters more than I expected.
Why most hair ties are kind of bad at “high performance”
A normal elastic works until it does not.
- It stretches out, then slides.
- It grips too hard in one spot, then gives you that weird tension headache.
- It catches and breaks hair, especially if your hair is textured, bleached, curly or just… fragile.
- It forces you into one tightness level. Too tight or too loose. Nothing in between.
The reason Rip Tie is useful in performance styling is simple. You control the tension. You can wrap it once for a looser hold or twice for a tighter hold. You can retie it mid-run without pulling out a nest of broken strands. And you can use it to anchor sections not just the whole ponytail.
That last part is the cheat code.
When you’re exploring the backcountry, or riding horses with friends (best hairstyles for horseback riding), you’ll find these workout hairstyles incredibly helpful as they actually stay put during high-intensity activities like running or biking with helmet-friendly motorcycle hairstyles.
The quick “before you style” checklist
I know this sounds basic, but it saves you so much frustration.
- Decide what you are protecting: scalp comfort, curl pattern, volume, ends, or just staying out of your face.
- Match the style to your activity: running hair is different from climbing hair. Wind changes everything too.
- Start with the right texture: slippery hair needs a little grip. Super dry hair needs a tiny bit of slip. Yeah, both can be true.
A couple micro tips that help almost everyone:
- If your hair is very slippery, a little dry shampoo or texture spray at the roots helps the hold.
- If your ends tangle easily, a tiny bit of leave in conditioner on the last few inches can reduce trail knots.
- If you wear a helmet, go low. High buns and high ponytails fight helmets and you will lose.
Waves to Trails, the actual lineup
I am going to break these into styles that work for real movement. Each one uses Rip Tie a little differently. And you can mix them. That is kind of the point.
1. The “Wave Saver” low pony with a soft anchor
This is the one I use when I want to keep my natural wave pattern intact. Like, I do not want to crush everything into a tight bun and then look like I got electrocuted later.
Best for: walking, commuting, gym machines, light hiking, travel days
Works with: wavy, straight, loose curls
Why it works: low tension, minimal bend points
How to do it:
- Part your hair the way you like. Do not fight your natural part if you can avoid it.
- Gather hair at the nape of your neck.
- Wrap Rip Tie around the ponytail once, then adjust tighter only if needed.
- Pull the ponytail slightly down and let the crown stay relaxed.
Little upgrade: take a small front section on each side and twist it back into the ponytail, then secure with the same Rip Tie wrap. It keeps face framing pieces from escaping without yanking them flat.
2. The “No Slip” mid pony with a hidden grip loop
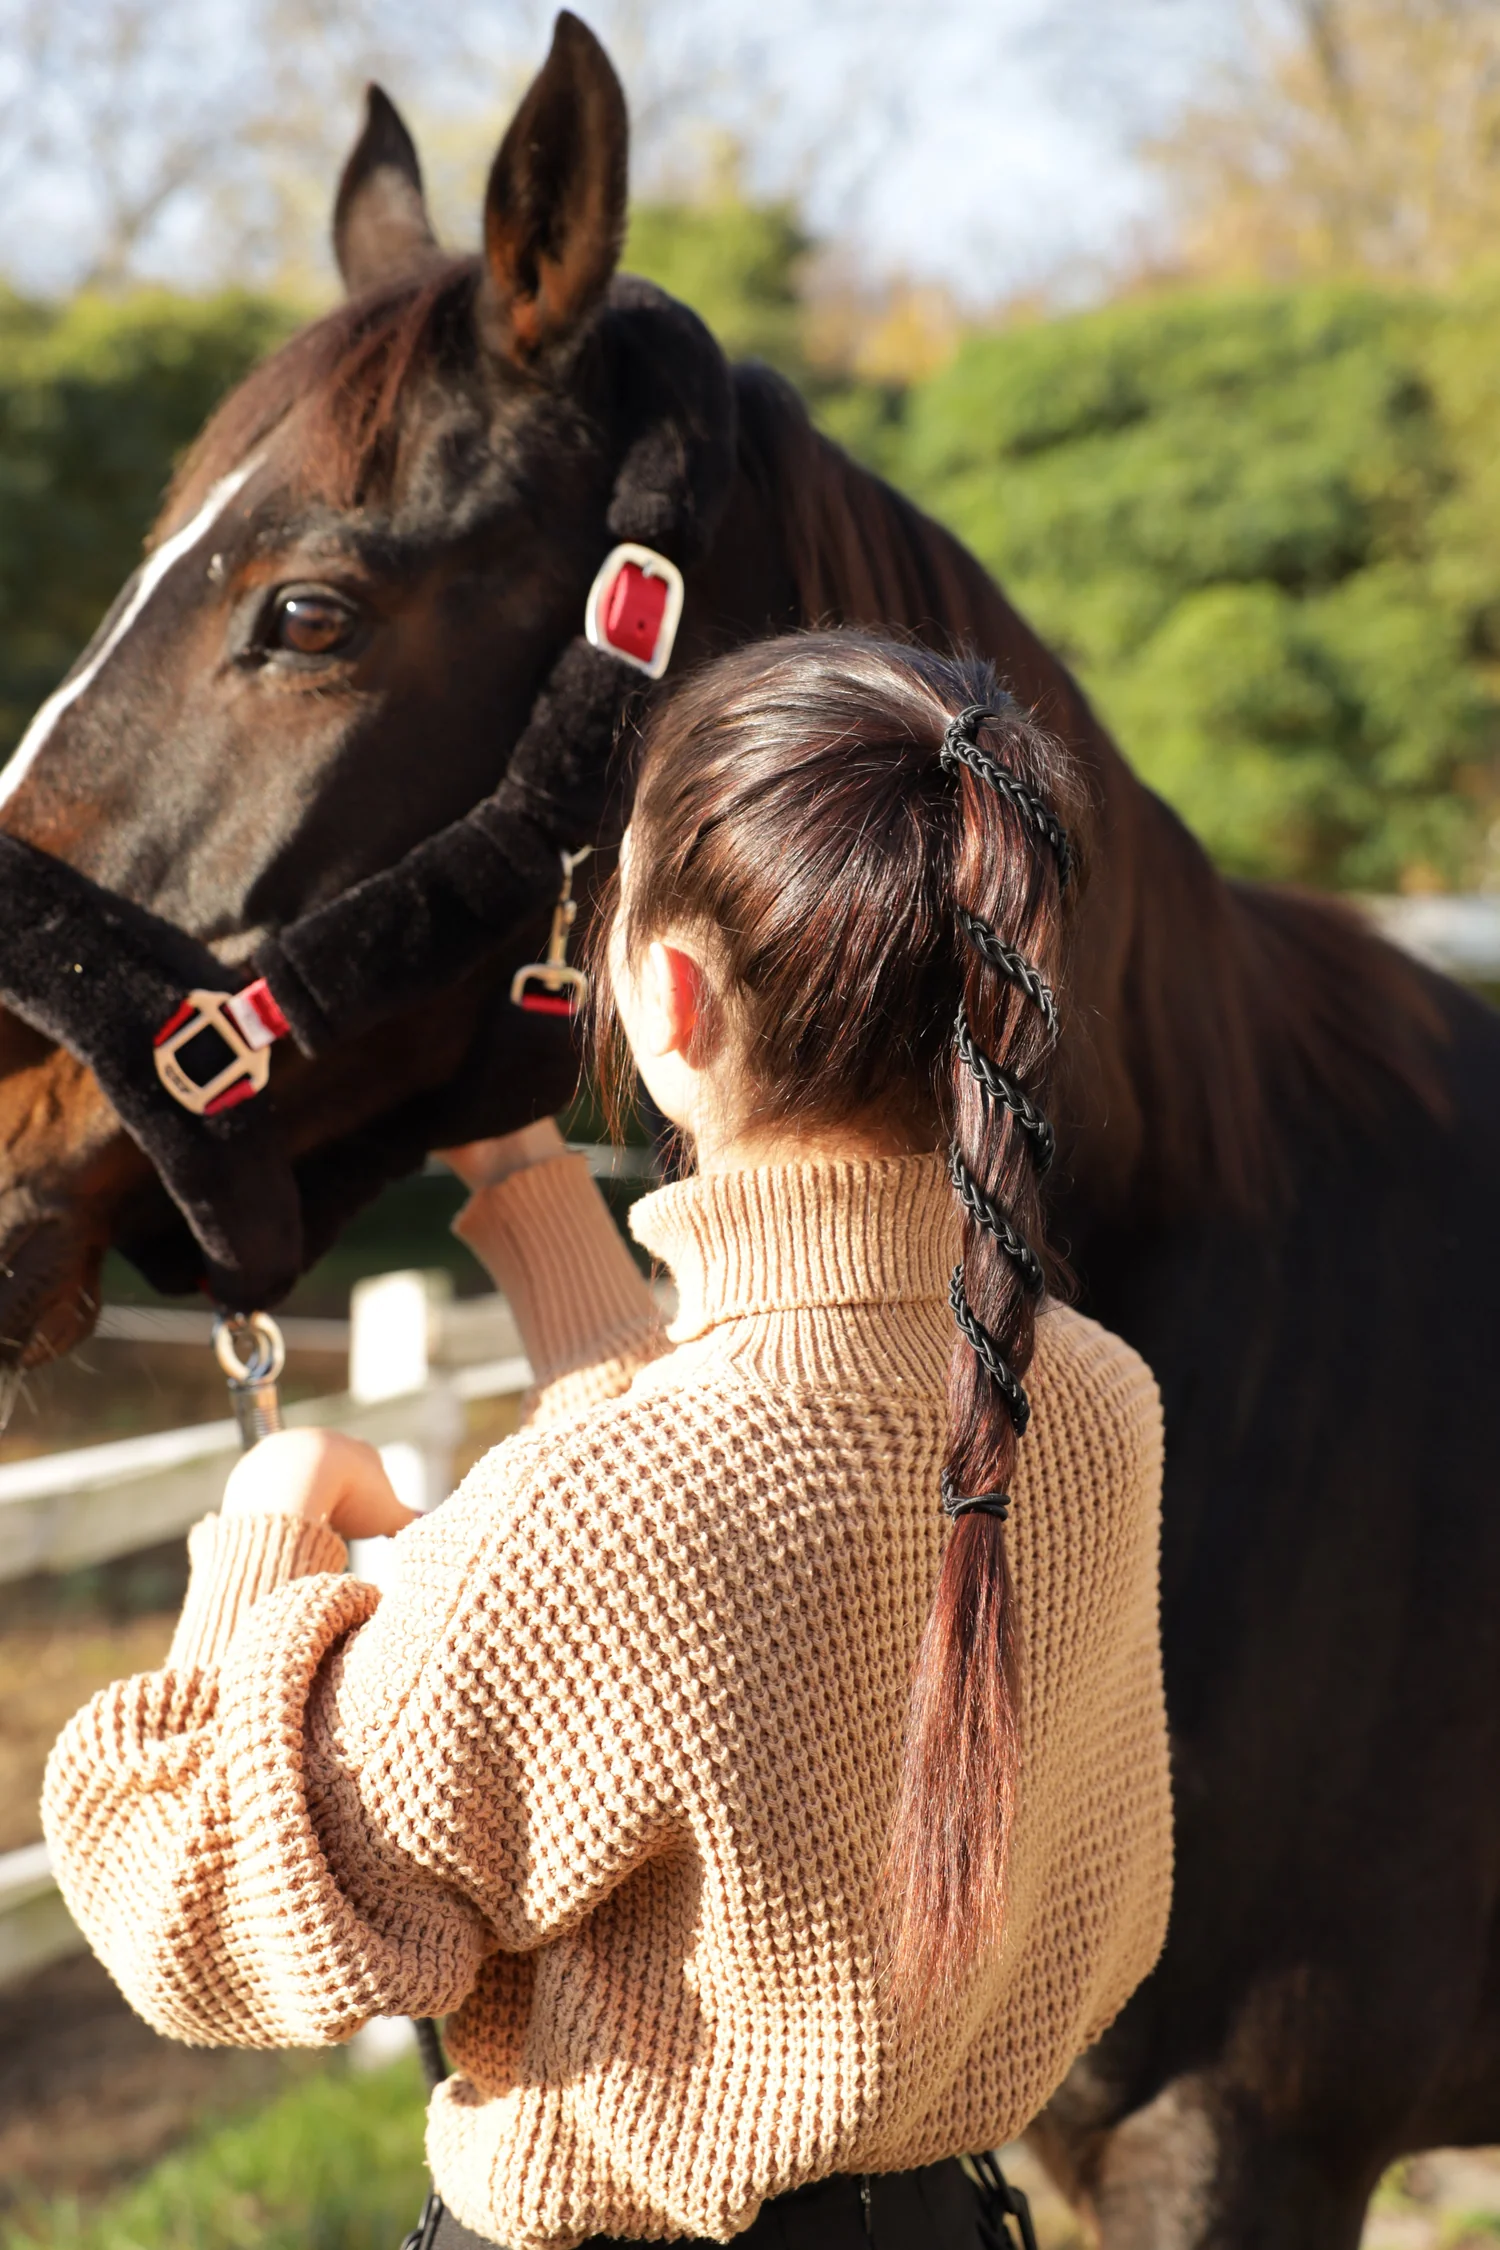
This style is perfect for when your ponytail normally slides down your head like it’s trying to escape.
Best for: running, jump rope, dance cardio, field sports
Works with: fine hair, silky hair, hair that hates elastics
Why it works: you build a small anchor point first
How to do it:
- Take a small section from the top crown area, like a half up pony.
- Secure that tiny pony with a Rip Tie.
- Now gather the rest of your hair into a mid height pony, combining it with that first section.
- Secure everything together with another Rip Tie again.
That first tie acts like a little hook. It stops the whole thing from sliding. And because Rip Tie is adjustable, you can keep it firm without feeling like your scalp is being punished.
3. The double pony “Trail Lift” for long hair bounce control
This style looks deceptively simple, but it’s the perfect solution for making long hair feel lighter. Less swinging, less whipping, less tangling.
Best for: hiking, trail running, long walks, cycling without a helmet
Works with: medium to very long hair
Why it works: controls weight distribution
How to do it:
- Make a high ponytail with the top half of your hair. Secure with Rip Tie.
- Gather the remaining lower half and combine it into a second ponytail underneath the first one. Secure with another Rip Tie.
- Let them fall together. It looks like one ponytail but behaves like two.
If you’re tired of hair smacking your neck or sticking to sweat, this is an oddly effective solution.
For those who struggle with tangles and breakage from regular elastics, consider investing in some tangle-free Rip Tie hair ties which are designed to prevent such issues while providing a secure hold.
4. The “Performance braid” that stays tight without ripping hair
Braids are trail royalty, but the problem is always the same. Tight braid equals scalp pain. Loose braid equals frizz explosion and sections escaping.
Rip Tie lets you tighten exactly where you need it. Usually at the start and the end.
Best for: hikes, runs, training days, windy weather
Works with: most hair types, especially layered hair
Why it works: controlled tension, fewer flyaways
How to do it:
- Start a standard three strand braid (or French braid if you like).
- When you reach the nape or the point where your braid is formed, secure temporarily with a Rip Tie loop. Not tight, just enough to hold.
- Continue braiding down if you want a longer braid, then secure the end with another Rip Tie.
That mid tie is not mandatory, but on layered hair it is the difference between a braid that holds and a braid that becomes five different braids by mile two.
5. Two braids, but make it helmet friendly
If you wear a helmet, a single braid down the back can create pressure points. Two braids spread the bulk and sit flatter.
Best for: cycling, skating, skiing, climbing helmets
Works with: medium to long hair
Why it works: distributes volume, reduces hot spots
How to do it:
- Part hair down the middle.
- Braid each side (Dutch or French if you want it super secure).
- Tie each end with Rip Tie.
Extra trick: if your helmet presses on the braid ends at your neck, fold each braid upward and secure it against itself with a second Rip Tie. Basically a mini braid loop. It keeps the ends from rubbing your collar.
If you’re looking for more options to suit your style or preference, consider exploring our range of tangle-free hair ties available in various colors including blonde.
6. The “run bun” that does not become a bird nest
Buns are great until you try to take them down and realize you have invented a new knot species.
The Rip Tie helps because you do not have to wrap elastic 8 times and compress the hair into a tight ball.
Best for: running, gym, hot weather, errands, long days
Works with: most hair, especially thick hair
Why it works: strong hold with less twisting stress
How to do it:
- Make a ponytail wherever you want the bun. Mid to low is usually most comfortable.
- Twist the ponytail loosely into a coil.
- Wrap the coil around the base.
- Secure the bun by wrapping Rip Tie around the bun base. Adjust until it feels stable.
If you want it extra locked in, you can use a second Rip Tie to wrap around the bun in a cross direction. Not too tight. Just like a seatbelt.
7. The “waves after” loose braid plus bun hybrid
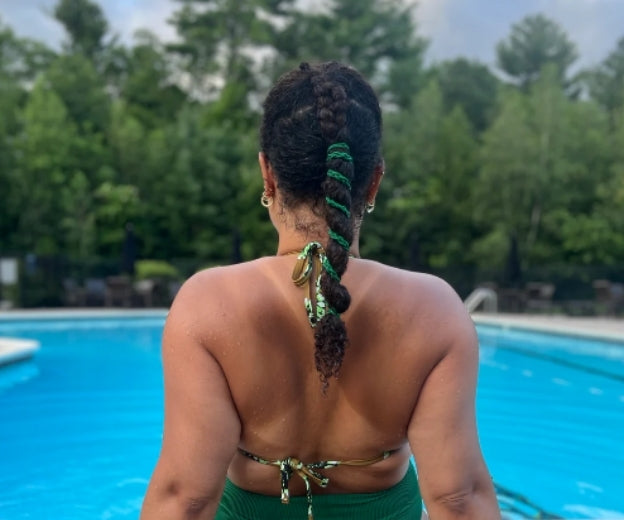
This one is for people who want to work out, then take hair down and still have nice shape. Not flat and crushed.
Best for: gym sessions, travel, light hikes, “I have plans later” days
Works with: wavy hair, loose curls
Why it works: holds hair up but keeps pattern gentle
How to do it:
- Put hair into a loose braid. Not tight. Let it be a bit imperfect.
- Coil the braid into a low bun.
- Secure with Rip Tie.
When you take it down, you get controlled waves, not chaos. And because Rip Tie is not chewing through your hair, the ends are happier.
For added versatility and style, consider exploring different Rip Tie colors, such as the Coral Crush or Seafoam Green. You can even try out the Freedom Trail design for those adventurous days or grab a convenient 3-pack for all your styling needs!
8. The “sectioned pony” for serious sweat and tangles
This is a very underrated technique. If your hair mats at the nape when you sweat, a single ponytail can trap friction. Sectioning reduces it.
Best for: long runs, hikes, high sweat workouts
Works with: thick hair, curly hair, textured hair
Why it works: reduces friction and tangling
How to do it:
- Make a mid or low ponytail and secure it with a Rip Tie, known for its tangle-free design.
- Go down the ponytail and add another Rip Tie every few inches, like a segmented pony.
- Gently puff each segment slightly for comfort and movement.
It looks kind of sporty and intentional, and it keeps the ponytail from turning into one big rope knot.
How to choose the right style fast (so you do not overthink it)
Here is a simple rule set I actually follow.
- Windy day: braid or segmented pony.
- Helmet: two braids or low bun.
- Want waves later: loose braid bun hybrid.
- Max bounce control: double pony.
- Scalp sensitivity: low pony with a soft anchor, or low braid.
And if you are not sure, start with a braid. A decent braid is almost always better than a desperate ponytail.
A few Rip Tie habits that make everything easier
This is the boring part, but it is also the part that makes you love using them.
- Do not overwrap. More wraps is not always better. Two wraps is usually plenty.
- Use it as an anchor, not just a tie. That means you can secure small sections first, then combine.
- Keep one in your bag. Because reties happen. Weather changes. Hair changes. Life.
Also, if you are the type who gets annoyed by little details, you will appreciate this. Rip Tie is fast. It is not a 12 step hair ritual. It is more like, wrap, press, done. Move on.
These best hair ties for long hair are designed with functionality in mind and are particularly beneficial for those with thick hair as highlighted by this stylist’s guide.
The small “after” routine so your hair does not hate you
High performance hair is not only about holding. It is about recovery.
When you take your hair down:
- Open the Rip Tie gently, do not yank.
- Finger comb first, then brush if needed.
- If you wore a tight style, massage your scalp for a few seconds. It helps with that tender feeling.
If you are on trails or traveling, even a quick shake out and a loose braid for later can keep tangles from building up.
Wrap up, waves to trails in real life
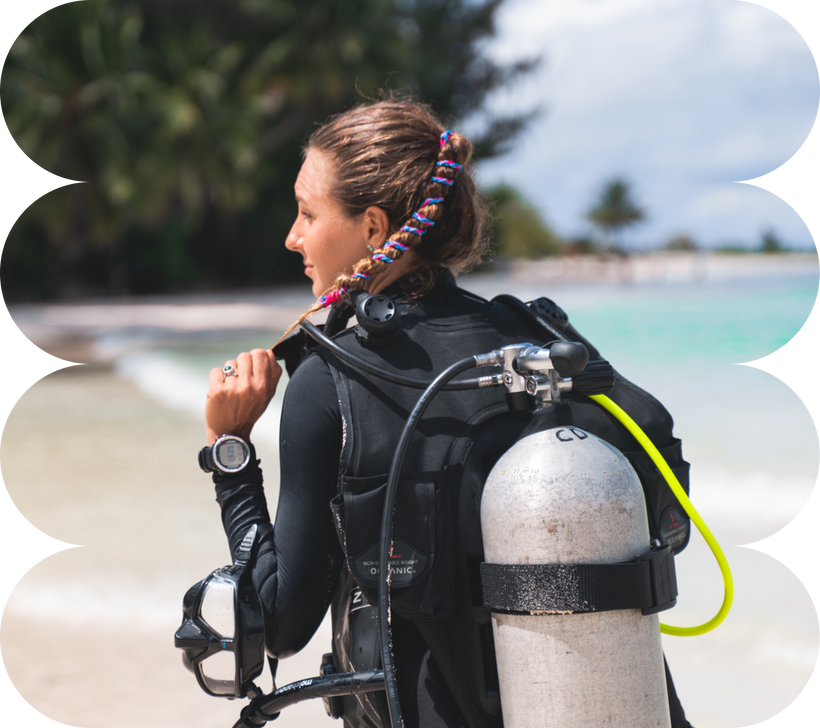
The goal is not perfect hair. It is hair that stays out of your way, does not break off, does not give you a headache, and still looks decent when you stop moving.
Rip Tie makes that way more doable because it is adjustable and reusable, and it lets you build styles that actually match what you are doing. Soft hold when you want waves. Strong hold when you are on a climb. Easy retie when you are sweaty and annoyed and just want your ponytail to behave.
Try one style first. The low pony with a soft anchor is an easy gateway. Then experiment. You will find your default pretty quickly.
And once you do, it is hard to go back to sad stretched elastics living at the bottom of your bag.
FAQs (Frequently Asked Questions)
What is ‘performance hair’ and why is it important during physical activities?
Performance hair refers to hairstyles designed to stay put and remain comfortable during intense physical activities like workouts, running, hiking, or sports. Unlike typical styles that may look good initially but become messy or cause headaches mid-activity, performance hair prioritizes practicality, comfort, and durability throughout movement and sweat.
Why are traditional elastic hair ties often unsuitable for high-performance hairstyles?
Traditional elastic hair ties can stretch out and slide, grip too tightly causing tension headaches, catch and break fragile or textured hair, and limit you to one tightness level—either too tight or too loose. These issues make them less ideal for active lifestyles where adjustable tension and gentle hold are needed.
How does Rip Tie improve the experience of styling performance hair?
Rip Tie is a reusable hook-and-loop hair tie that allows you to control tension by wrapping it once for a looser hold or twice for a tighter one. It avoids snaggy metal parts and the harsh snap of elastics, reducing hair breakage and discomfort. You can retie it mid-activity without pulling out broken strands, and use it to anchor sections of hair rather than just the whole ponytail.
What should I consider before styling my hair for an active day outdoors?
Before styling, decide what you want to protect—scalp comfort, curl pattern, volume, ends, or simply keeping hair out of your face. Match your hairstyle to your specific activity since running requires different styles than climbing. Also start with the right texture: slippery hair benefits from dry shampoo or texture spray at roots for grip; dry ends might need leave-in conditioner to reduce tangles; if wearing a helmet, opt for low buns or ponytails to avoid interference.
Can you describe the ‘Wave Saver’ hairstyle using Rip Tie?
The ‘Wave Saver’ is a low ponytail style that preserves natural waves without tight crushing. It’s best for walking, commuting, light hiking, gym machines, travel days and works well with wavy, straight or loose curls. To do it: part your hair naturally; gather it at the nape; wrap Rip Tie once around the ponytail adjusting tension as needed; let the crown stay relaxed. For extra hold on face-framing pieces, twist small front sections back into the ponytail secured with the same Rip Tie.
What is the ‘No Slip’ mid ponytail style and who should try it?
The ‘No Slip’ mid ponytail features a hidden grip loop created by first securing a small top crown section with a Rip Tie before gathering all hair into a mid-height ponytail tied again with Rip Tie. This method prevents sliding down during high-movement activities like running or dance cardio. It works best for fine, silky hair or hair that resists traditional elastics due to slipperiness.
Dive deeper here: purisia.com