The “Shark Tank” Hair Trend: How to Style Rip Tie for Your Everyday Hustle
Rip Tie is the Shark Tank hair trend—here’s how to style it for real life: quick steps, what to ask for, and how to keep it all day.
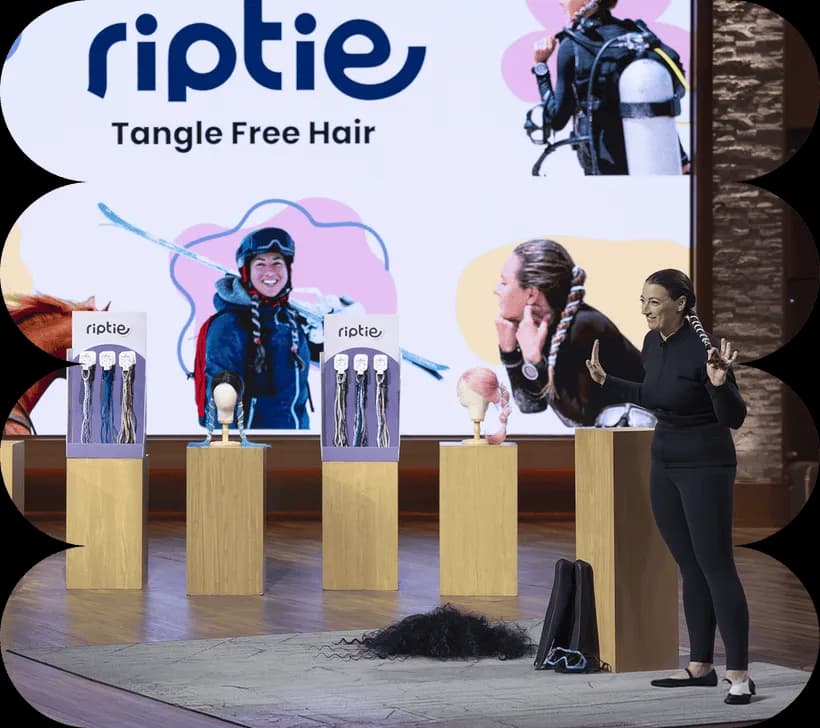
First, what is Rip Tie (and why is everyone calling it “activewear for hair”?)
- First, what is Rip Tie (and why is everyone calling it “activewear for hair”?)
- How to use Rip Tie (quick, no drama)
- Scenario 1: The 8 AM commute ponytail that still looks chic at 3 PM
- Scenario 2: The “I have 10 minutes” bun that doesn’t pull at your scalp
- Scenario 3: The workout-to-errands pony that survives burpees and still looks intentional
- Scenario 4: The “clean girl” half-up for meetings, coffee dates, and being seen
- Scenario 5: The low pony for long workdays when you want calm, not cute chaos
- Scenario 6: Post-workout “beach waves” without trying (yes, really)
- Scenario 7: The “hair up but cute” travel day, airport day, road trip day
- Scenario 8: The night routine tie-up that protects your hair while you sleep
- Quick tips to make Rip Tie look extra polished (without doing extra)
- Why this trend is sticking (and not just a moment)
- Ready to upgrade your everyday hair game?
- FAQs (Frequently Asked Questions)
Somewhere between the 7:12 AM iced coffee run and that one last Zoom that could’ve been an email, your hair becomes… a whole situation, much like trying to untangle a Rip Tie after a long day.
You want it up. But not tight. You want it cute. But not complicated. You want to look pulled together, but you also want to breathe. And if you’ve ever taken out a hair tie at the end of the day and felt your scalp sigh in relief, you already know the problem isn’t you. It’s the tool.
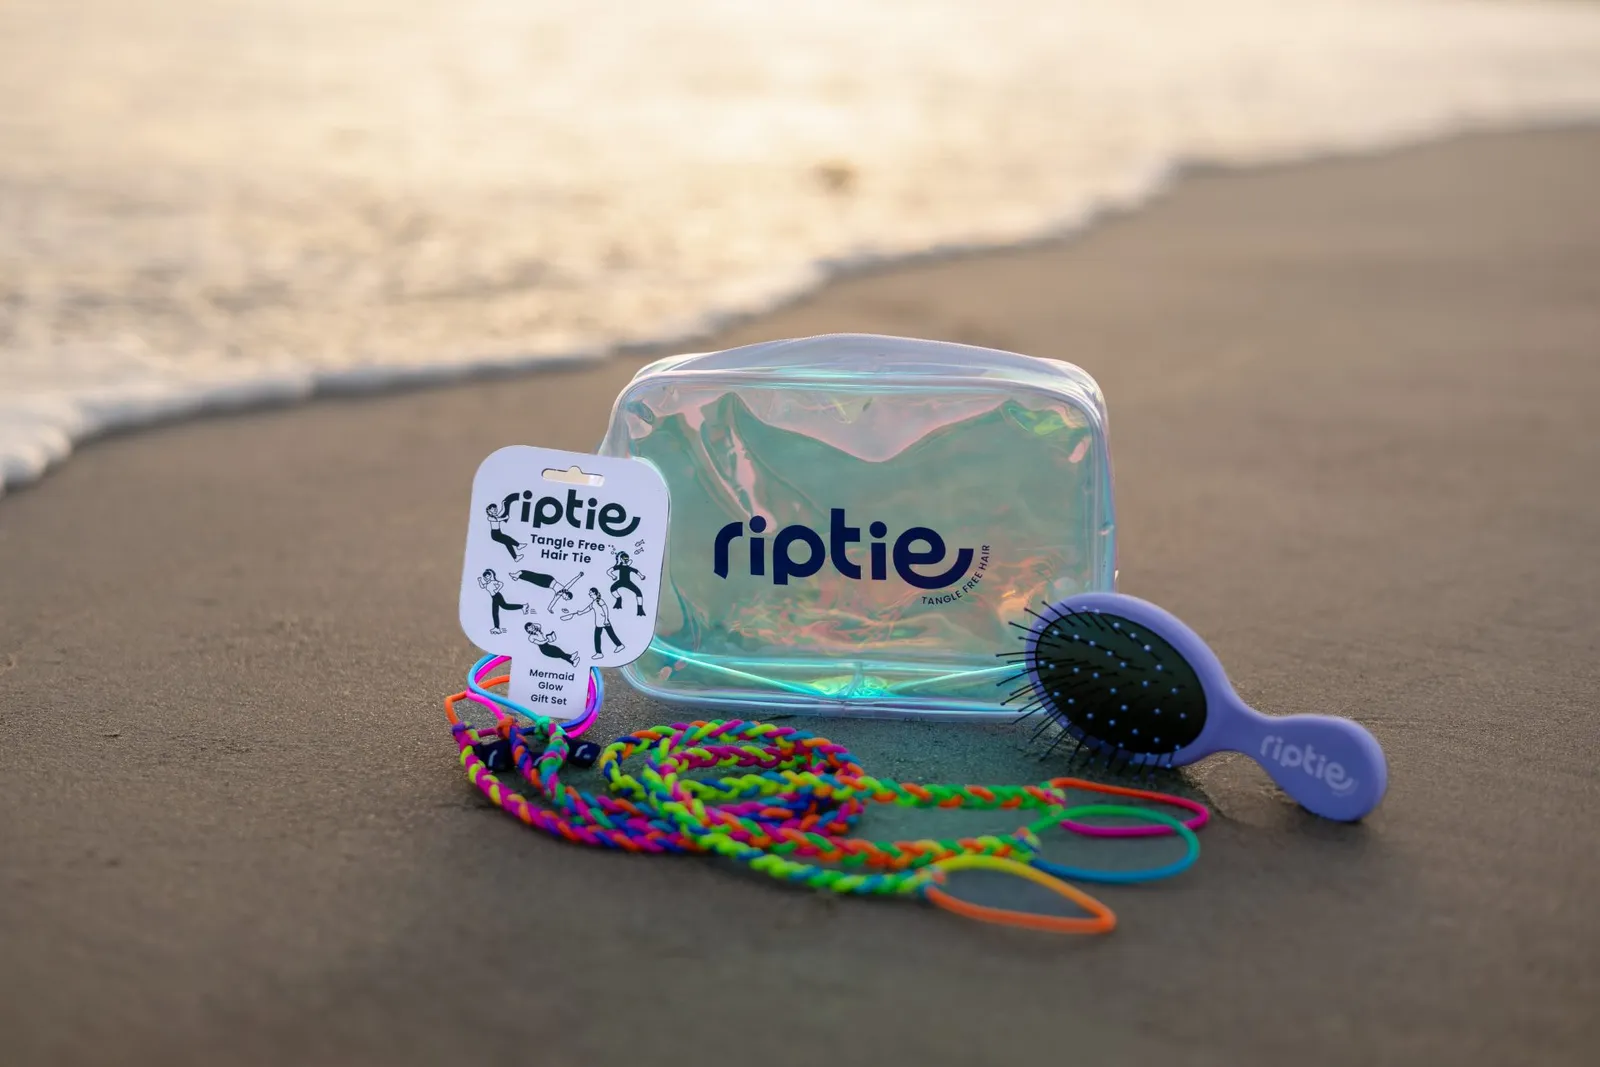
Enter the Shark Tank hair trend you’ve probably seen floating around your feed lately: Rip Tie. This innovative product is essentially activewear for hair, designed to keep your hair secure without the usual tugging, creasing, snapping, and breakage spiral.
If you’re in a busy routine where you bounce between work, errands, workouts, and actual life, this is the kind of small upgrade that weirdly changes everything.
Let’s get into how to style Rip Tie for real days. Not fantasy “morning routine” days. The real ones.
First, what is Rip Tie (and why is everyone calling it “activewear for hair”?)
Rip Tie is a modern alternative to standard elastics. Instead of relying on tight tension and stretchy loops that overstress your hair, it’s meant to feel more adjustable and gentle while still staying put.
So the vibe is:
- Effortless styling without that “my scalp is in a chokehold” feeling
- Hair damage protection that actually matters if you wear your hair up a lot
- Stylish hair accessories energy, but still practical enough for gym days
And yes, it’s part of that Shark Tank hair trend wave because it’s one of those rare things that looks simple but solves an annoyingly constant problem.
For those who are curious about the journey of how Rip Tie made its way to Shark Tank, it’s a fascinating story filled with determination and innovation.
With Rip Tie’s tangle-free hair tie, you’re not just investing in a product; you’re embracing a lifestyle change that prioritizes both style and comfort.
How to use Rip Tie (quick, no drama)
Before we jump into scenarios, here’s the basic flow. You’ll get the hang of it in like, two tries.
Simple steps:
- Gather hair into your pony/bun/half-up style.
- Wrap Rip Tie around the base (like you would with a tie).
- Adjust to your comfort level so it feels snug, not tight.
- Smooth and set. Done.
Key benefits you’ll notice fast:
- Tension headache-free (or at least, way less of that tight scalp pressure)
- Damage-free hold compared to over-stretchy elastics that snap strands
- Secure anchor that stays put through movement and long days
Ok. Now let’s style it for your actual calendar.
Scenario 1: The 8 AM commute ponytail that still looks chic at 3 PM
This is for the days you’re wearing a blazer, sunglasses, and you’re trying to look like you totally had time to steam something. A sleek ponytail does the heavy lifting.
How to style it:
- Brush hair back (or use fingers if you’re running out the door, no judgment).
- Gather at mid or high pony height.
- Secure with Rip Tie at the base.
- Optional but makes it feel “done”: take a small strand, wrap it around the base, and tuck.
Why this works for your daily hustle:
- Secure anchor without over-tightening, so you’re not fidgeting all day
- Effortless styling that reads polished even if your outfit is basically “clean athleisure”
- Hair damage protection when you’re doing ponytails constantly
If you’re prone to flyaways, add a tiny bit of smoothing cream or hair oil on the top. Tiny. Like the amount you think won’t do anything. That amount.
Scenario 2: The “I have 10 minutes” bun that doesn’t pull at your scalp
Let’s be honest, the messy bun is not messy. It’s strategic.
This one is for school drop-offs, quick grocery runs, and those mornings where your hair is on day three and you’re pretending you planned it.
How to style it:
- Flip your head over (optional, but adds volume fast).
- Gather hair into a high pony.
- Twist the length into a coil.
- Wrap into a bun and secure with Rip Tie.
- Loosen the bun slightly at the crown for that casual lift.
Lifestyle benefits you’ll love:
- Tension headache-free hold, because you can adjust instead of cranking it tighter
- Damage-free compared to elastics that crease and tug at the same spot
- Looks cute with literally everything. Hoodie, trench, workout set, whatever.
Bonus: if you have fine hair, don’t over-twist. A looser twist gives you a fuller bun look.
Scenario 3: The workout-to-errands pony that survives burpees and still looks intentional
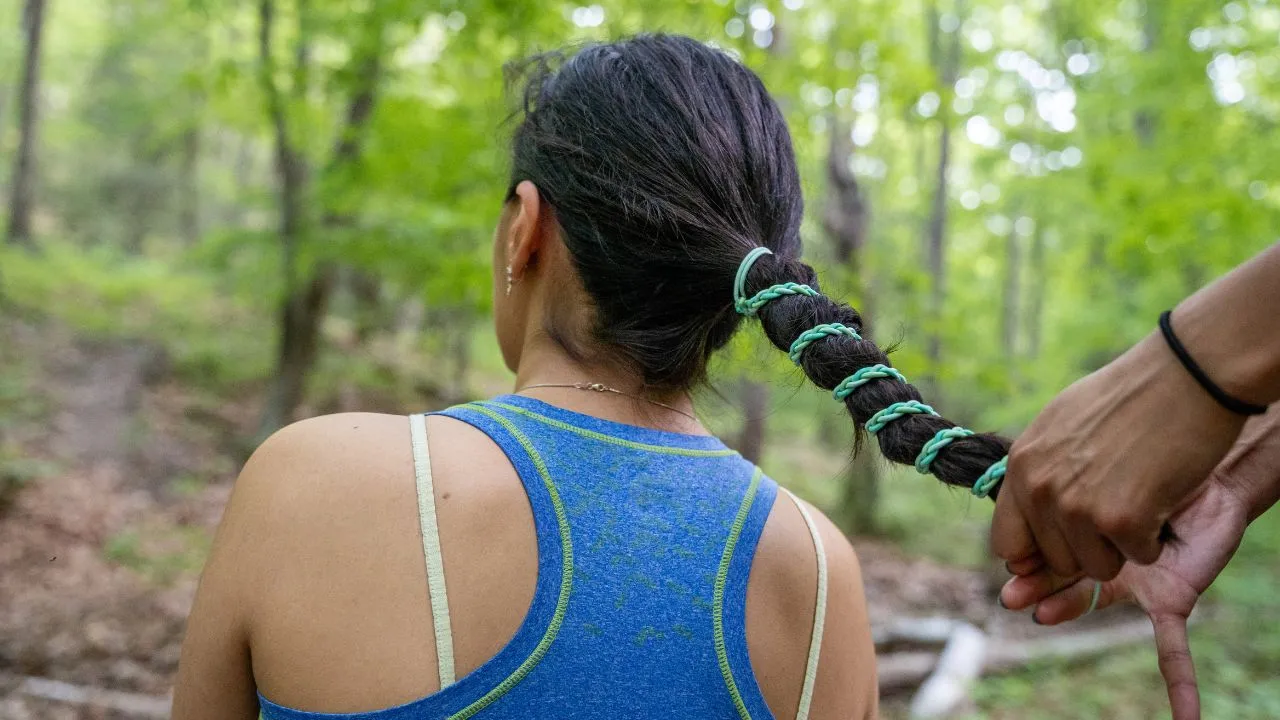
This is where activewear for hair really makes sense. You need hold that doesn’t slip when you sweat, and you need comfort because you’re already doing the hard thing.
How to style it (gym-proof version):
- Part hair how you like (middle part girlies, I see you).
- Smooth back into a high ponytail for max security.
- Secure with Rip Tie.
- If you have layers, do a quick second wrap/adjust so the base is extra stable.
- Optional: braid the ponytail to reduce tangling during cardio.
Best parts post-workout:
- Secure anchor through movement without feeling like it’s ripping hair out
- Hair damage protection when you’re wearing your hair up often (which most of us do to work out)
- Easier to take down later without that “stuck elastic” panic
And when you take it out? Less of that harsh crease. Which is a big deal if you’re going from workout to normal life without washing right away.
Scenario 4: The “clean girl” half-up for meetings, coffee dates, and being seen
Half-up hair is underrated. It’s soft, it’s flattering, it keeps hair out of your face, and it makes you look like you tried. Even if you didn’t.
How to style it:
- Take two sections from the front, or gather the top half of your hair.
- Bring it back into a small pony.
- Secure with a Rip Tie for tangle-free hold.
- Gently tug the crown for volume.
- Let the rest of your hair do its thing.
Why it’s perfect for a busy routine:
- Effortless styling that works on clean hair and “dry shampoo hair”
- Damage-free since you’re not cinching all your hair tight
- Looks great with hoops, slick brows, tinted SPF. The whole vibe.
If your hair is wavy or curly, this is also a great way to show texture while staying practical.
Scenario 5: The low pony for long workdays when you want calm, not cute chaos
This is the “quiet luxury” of hair. It’s understated. It doesn’t fall apart. It doesn’t distract you. It just works.
How to style it:
- Part hair (middle or side).
- Brush into a low pony at the nape of your neck.
- Secure with a Rip Tie, which is gentle on the hair.
- Optional: tuck hair behind ears and add a little shine product.
Key benefits:
- Tension headache-free because low ponies plus gentle hold are a dream combo
- Hair damage protection especially if you’re sitting, driving, or working long hours
- Works with coats, scarves, and high-neck tops without getting tangled
Also, low ponytails make you look like you have your life together. Even if you ate cereal over the sink.
Scenario 6: Post-workout “beach waves” without trying (yes, really)
This is the fun one. Because some hair tools accidentally create a look when you take them out. Like a happy side effect.
If you secure hair in a bun after a workout, shower, or during errands, you can end up with that undone texture.
How to style for waves:
- Start with slightly damp hair, or refresh with a mist spray.
- Twist hair into a bun (not too tight).
- Secure with a Rip Tie.
- Leave it for 30 minutes to a few hours while you do life.
- Take it out, finger-comb, add a light texturizing spray.
What you get:
- Post-workout beach waves without heat
- Damage-free styling (huge if you’re trying to cut back on hot tools)
- Looks like effort, feels like none
And if it’s not wave-y enough the first time, twist in two sections before you bun it. It makes the texture more defined.
Scenario 7: The “hair up but cute” travel day, airport day, road trip day
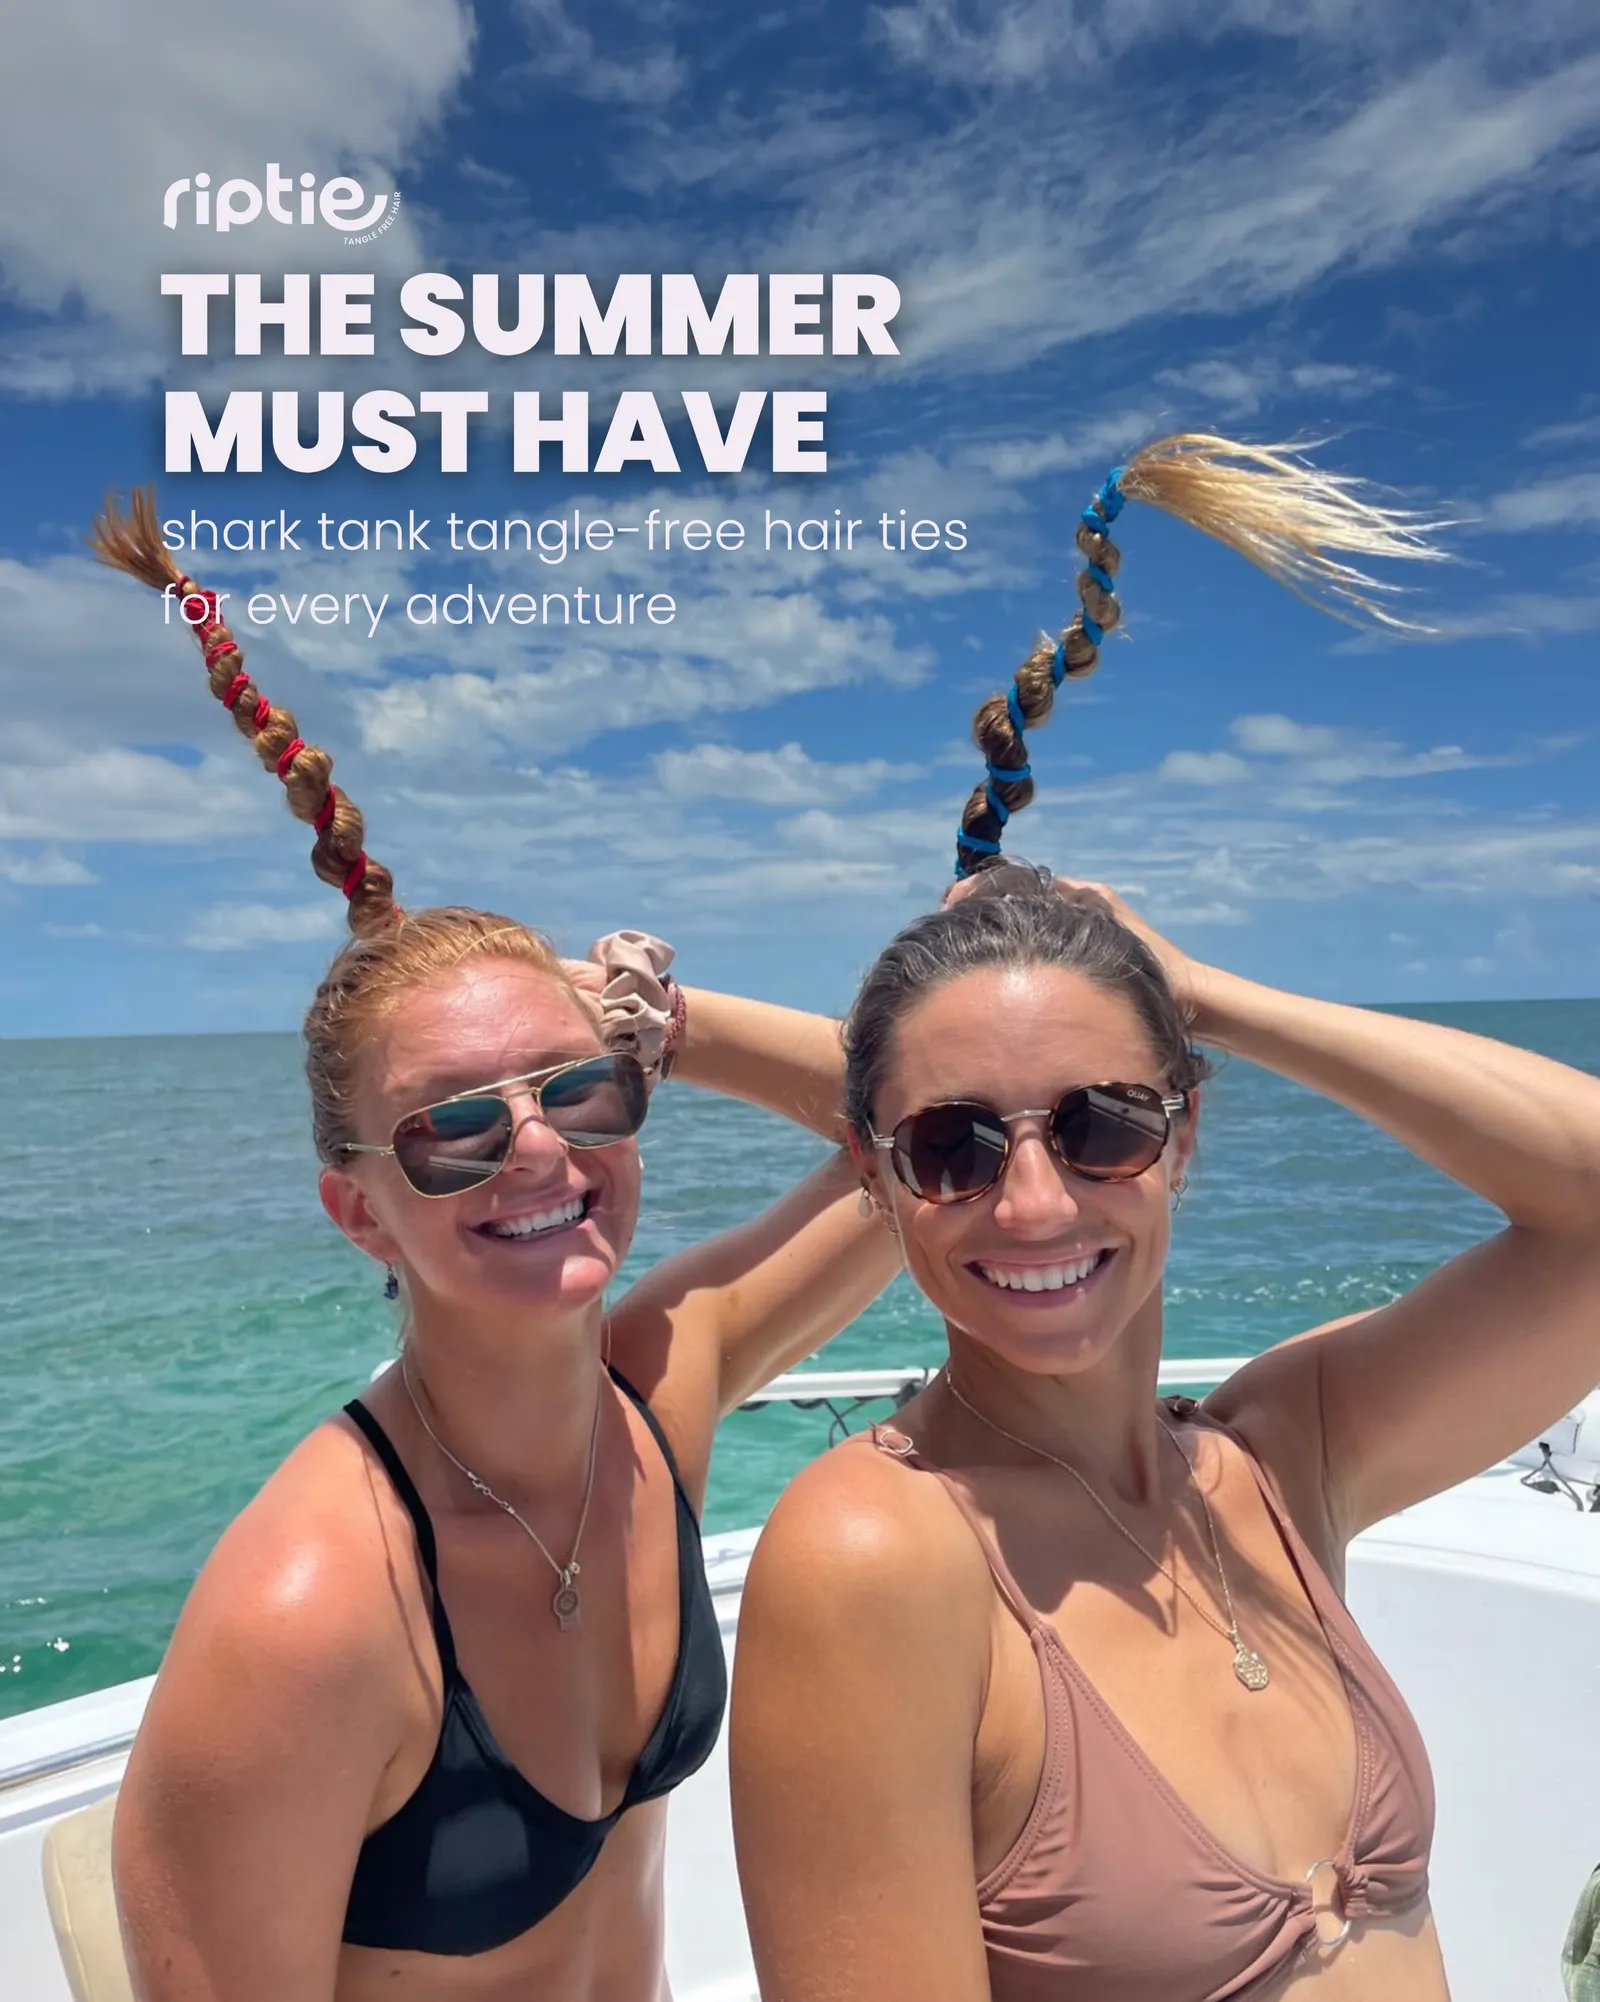
Travel hair has requirements:
- It can’t hurt.
- It can’t fall apart.
- It needs to look decent in photos you didn’t ask for.
How to style it:
- Do a low bun or mid pony for comfort against headrests.
- Secure with Rip Tie.
- Pull out two face-framing pieces if you want softness.
- Add sunglasses or a hat and suddenly you’re that girl at the gate.
Lifestyle wins:
- Tension headache-free for long stretches of sitting
- Secure anchor even when you’re hauling bags and moving fast
- Stylish hair accessories feel without packing a whole hair toolkit
If you’re a chronic “I lose hair ties” person, toss one Rip Tie in your wallet or makeup bag. Future you will be grateful.
Scenario 8: The night routine tie-up that protects your hair while you sleep
Not glamorous, but genuinely important. If you’re trying to reduce breakage and keep hair healthier, what you do at night matters.
How to style it:
- Gather hair into a very loose high pony or loose bun.
- Secure gently with a Rip Tie, minimal tension.
- Pair with a satin pillowcase if you have one.
Why it helps:
- Hair damage protection from friction and tight elastics
- Damage-free sleep style that doesn’t leave harsh creases
- You wake up with hair that’s easier to manage. Less tangles, less snapping.
This is especially good if you’re growing your hair, coloring it, or just trying to stop shedding so much in the shower.
Quick tips to make Rip Tie look extra polished (without doing extra)
Because we love a shortcut.
- If you want sleek: use a tiny bit of gel or smoothing cream on the top layer.
- If you want volume: secure your pony, then gently tug at the crown and sides.
- If you want softness: pull out a couple of face-framing pieces and lightly curl just those.
- If your hair is thick: section into two twists before making a bun with Rip Tie, it holds shape better.
- If your hair is fine: don’t over-tighten. Let the style be light, it looks fuller.
The big theme here is comfort plus control. You get to choose, instead of your hair tie choosing violence.
Why this trend is sticking (and not just a moment)
A lot of trends are cute until you actually live in them.
But the reason the Shark Tank hair trend is getting real traction is because it solves an everyday problem for women with an actual daily hustle. It fits into a busy routine without needing a tutorial that’s eight minutes long.
And it checks the boxes we care about:
- Tension headache-free styling for long days
- Hair damage protection for repeat updos
- Effortless styling that still looks chic
- Stylish hair accessories that feel modern, not childish
- A true secure anchor for workouts, commutes, and everything in between
Honestly, it’s just nice when something is both pretty and functional. We deserve that.
Ready to upgrade your everyday hair game?
If you want to try the Rip Tie trend for yourself, go straight to the source. Visit the official Rip Tie website here: https://www.riptiehair.com/
Explore the collection, grab a 3-pack, and keep one in your gym bag, one in your work tote, and one at home so you’re never stuck using that sad stretched-out elastic again.
Not only will it elevate your daily hair game and make your styles feel easier, but it will also keep your hair happier while you’re out there doing everything.
FAQs (Frequently Asked Questions)
What is Rip Tie and why is it called ‘activewear for hair’?
Rip Tie is a modern, innovative hair tie designed as a gentle alternative to standard elastics. It’s called ‘activewear for hair’ because it offers effortless styling without tight tension, protects against hair damage, and stays secure during busy routines like workouts and errands.
How does Rip Tie prevent hair damage compared to traditional hair ties?
Unlike standard elastics that can cause tugging, creasing, snapping, and breakage, Rip Tie uses adjustable tension to hold hair securely without overstressing strands. This reduces damage and scalp discomfort, making it ideal for those who frequently wear their hair up.
Can Rip Tie be styled easily for real-life busy days?
Absolutely! Rip Tie is designed for quick, no-drama styling. Simply gather your hair into your desired style—ponytail, bun, or half-up—wrap the Rip Tie around the base adjusting for comfort, and smooth out. It’s perfect for real days filled with work, errands, and workouts.
How do I style a sleek ponytail with Rip Tie that lasts all day?
Brush or finger-comb your hair back to mid or high pony height. Secure with Rip Tie at the base and optionally wrap a small strand of hair around the base to tuck in for a polished look. This style stays secure without over-tightening and protects your hair from damage throughout the day.
What’s the best way to create a comfortable messy bun using Rip Tie?
Flip your head over (optional for volume), gather hair into a high ponytail, twist the length loosely into a coil to avoid over-twisting especially if you have fine hair, wrap into a bun and secure with Rip Tie. Loosen slightly at the crown for casual lift. This keeps your scalp tension-free while looking effortlessly cute.
Why is Rip Tie considered part of the Shark Tank hair trend?
Rip Tie gained attention on Shark Tank due to its simple yet effective solution to common hair tie problems like tightness and damage. Its innovative design combines style with practicality, making it one of the standout products in the current Shark Tank-inspired wave of beauty accessories.
Ready to elevate your everyday hair game?
If you want to experience the Shark Tank-approved trend for yourself and finally say goodbye to tension headaches, it’s time to switch to Rip Tie.
👉 Visit the official Rip Tie website here: https://www.riptiehair.com/
Learn more here: purisia.com
Recommended for you
 Haru Haru Wonder vs. Cosrx: Which Unstoppable K-Beauty Brand Is Right for Your Skin?
 Discover Haru Haru Wonder — The Unstoppable Clean Beauty Line Gentle Enough for Every Skin
 Honey Acres: The Jaw-Dropping Science Behind Honey That Outlived the Pharaohs
 From Waves to Trails: The Ultimate High-Performance Hairstyles with Rip Tie
 Honey Acres: The Ultimate Guide to Kosher Certified, Gluten-Free, and Big 9 Allergen-Free Treats
 I Tried Sun Powder for 30 Days: A Real Review of Ingestible Skincare